


Small Dessert Cups: How to Choose Portions, Shapes & Materials

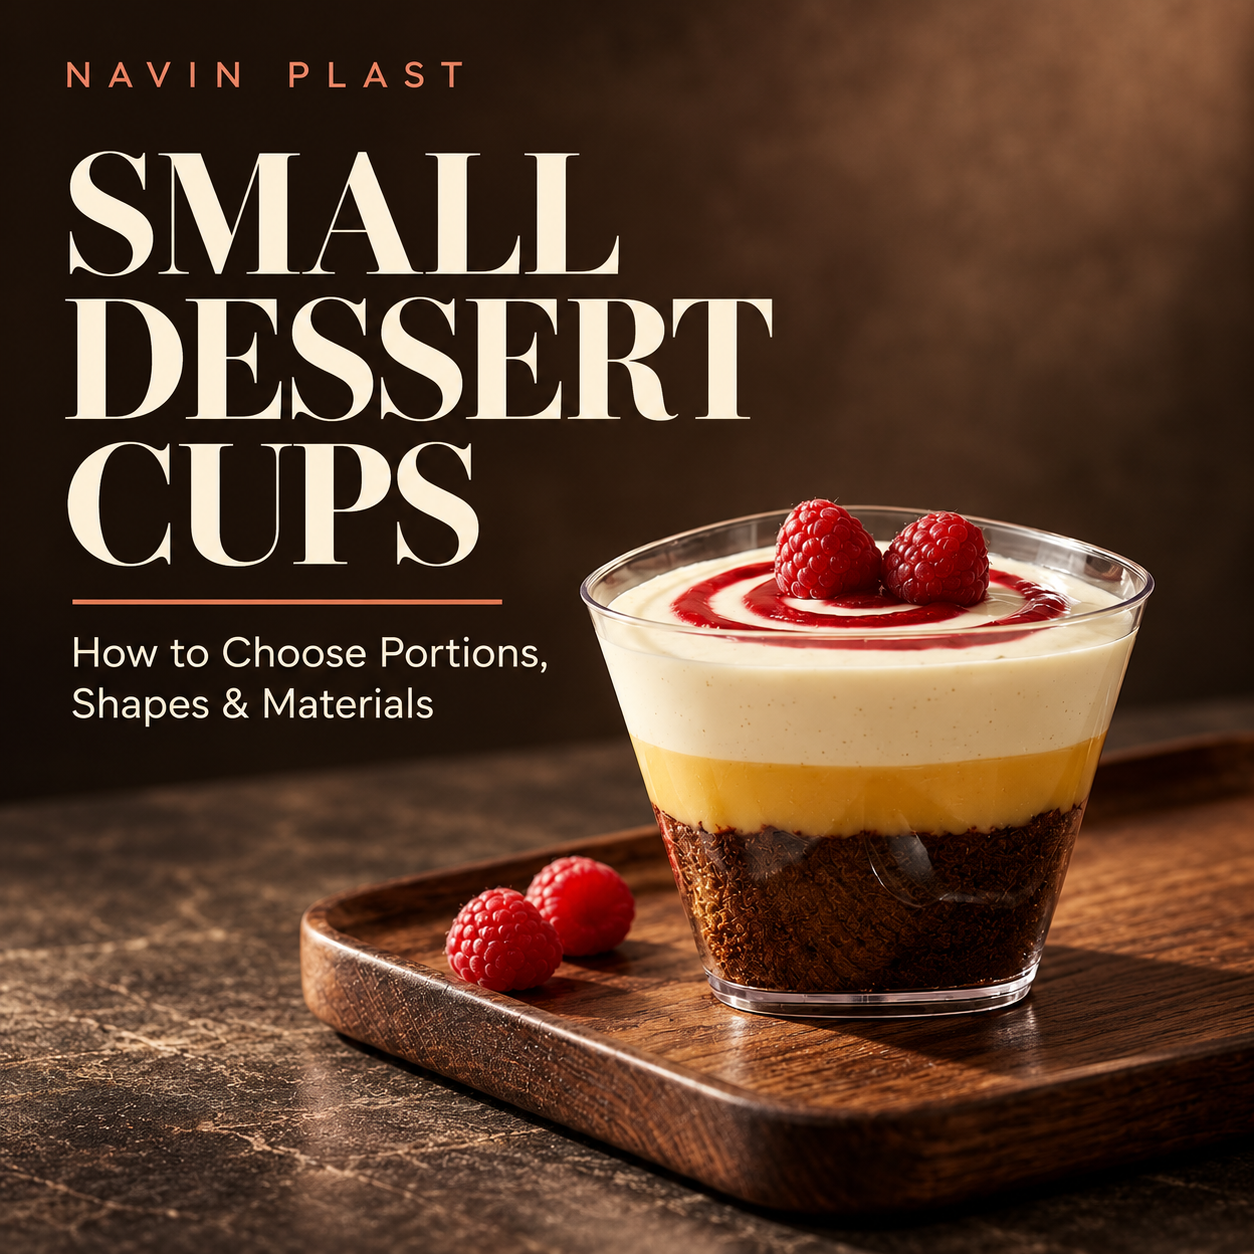
A beautifully layered chocolate mousse or mini cheesecake deserves packaging that makes it look as good as it tastes. However, choosing the right dessert cup involves more than finding an attractive design. The cup must suit your portion size, complement your recipe, fit your serving process and work within your packaging budget.
For bakeries, cafés, home bakers and catering businesses, plastic mousse cups offer a practical way to serve individual desserts while showcasing their colours, layers and toppings.
But which size should you choose? Is a 60 ml cup enough for mousse? Should you use a tall transparent cup or a wide dessert bowl? And how can you calculate the actual cost of each serving?
This guide answers these questions with practical size comparisons, product examples and a step-by-step selection method.
What Are Small Dessert Cups Used For?
Small dessert cups are individual serving containers that help businesses present mousse, pudding, cheesecake, custard, fruit desserts and tasting portions.
Their compact size makes them particularly useful when you want to serve smaller quantities without compromising presentation.
Common applications include:
- Home bakeries: Mini cheesecakes, chocolate mousse and tasting samples.
- Cafés: Individual puddings, parfaits and dessert combinations.
- Wedding caterers: Assorted desserts for buffet counters.
- Restaurants: Dessert samplers and tasting menus.
- Sweet shops: Mini sweets, fusion desserts and portion-controlled servings.
- Event planners: Compact desserts that guests can enjoy while standing or socialising.
For example, a home baker launching three mousse flavours can use small cups to offer a tasting box before introducing full-sized desserts.
Similarly, an event caterer can arrange different flavours in matching cups to create a coordinated dessert display.
Explore the Navin Plast mousse cups collection to compare transparent designs in different capacities and shapes.
What Size Dessert Cup Should You Choose?
The best dessert cup size depends on the serving purpose, recipe density, number of layers and space needed for toppings.
A 40 ml cup may work for a tasting portion, while a 160 ml cup provides more room for an individual layered dessert. However, capacity alone cannot tell you whether a particular recipe will fit comfortably.
Dessert cup size comparison
| Cup capacity | Potential application | What to consider |
|---|---|---|
| 30–40 ml | One- or two-bite tastings, mini samples | Limited room for elaborate garnishes |
| 50–65 ml | Mini mousse, tasting menus, dessert shooters | Good for compact portions with simple decoration |
| 70–100 ml | Small puddings, mini cheesecakes, fruit desserts | Provides more flexibility for layers |
| 120–160 ml | Individual mousse, layered desserts, parfaits | Better for recipes with several visible layers |
| 180–250 ml | Larger individual desserts and dessert combinations | Higher ingredient cost and greater storage requirements |
These are approximate use-case suggestions, not fixed serving standards. Always test your actual recipe in the chosen cup.
Which dessert cup size works best for chocolate mousse?
For a small tasting menu, a 50–65 ml format may provide enough space for chocolate mousse and a simple garnish.
However, if your recipe includes a brownie base, mousse, ganache and whipped cream, consider a larger format.
The important question is not simply how many millilitres the cup holds. Instead, ask:
Can I serve the intended quantity neatly while leaving adequate space for toppings and comfortable handling?
Why Is Usable Capacity Different From Stated Capacity?
One of the most common packaging mistakes is assuming that a 100 ml dessert cup should always contain 100 ml of finished dessert.
In practice, the usable capacity may be lower.
For example, your recipe might include:
- A biscuit or brownie base
- A mousse layer
- Fruit compote
- Whipped cream
- Chocolate decoration
Each layer needs space. Furthermore, some toppings extend above the mousse surface.
If you fill the cup to its rim, you may create problems during handling or prevent a compatible lid from closing properly.
How to measure usable dessert capacity
Follow this simple process:
- Prepare the dessert using your normal recipe.
- Place the empty cup on a weighing scale and tare it.
- Add each dessert layer as you normally would.
- Include toppings and decorations.
- Check whether the finished serving looks balanced.
- Test the lid, if the product supports one.
- Record the final dessert weight and usable fill level.
Remember that millilitres measure volume, while grams measure weight. A 100 ml cup does not necessarily hold 100 g of every mousse or pudding.
This distinction helps you avoid portioning errors, especially when ingredients have different densities.
For additional comparisons, read Navin Plast’s dessert cup size guide covering 30 ml to 250 ml formats.
Which Dessert Cup Shape Makes Mousse Look Best?
Cup shape influences how customers see and experience a dessert.
A transparent cup with taller sides can highlight multiple layers. Meanwhile, a shallow bowl draws attention to toppings and makes spoon access easier.
Let’s compare the most useful options.
Tall transparent cups for layered mousse
Tall cups can work well when the dessert’s appearance depends on clearly separated layers.
For example, a chocolate mousse recipe might feature:
- A dark chocolate base
- A light vanilla cream layer
- A strawberry mousse layer
- A chocolate topping
A clear-sided cup allows customers to see this arrangement without opening the packaging.
However, taller containers may require longer spoons and careful filling to avoid smears along the sides.
Square dessert cups for modern presentation
Square cups create a clean, structured appearance that can complement layered puddings, tiramisu-style desserts and mini mousse creations.
Their defined edges also offer a distinctive look for restaurant dessert counters and catering arrangements.
For instance, the Navin Plast N-25 square dessert cups are listed with a 160 ml capacity and approximately 70 mm height and width.
This format may suit businesses that want to showcase several dessert layers in one individual serving.
Nevertheless, always check the current product dimensions and test your finished recipe before bulk purchasing.
Wide transparent bowls for toppings
Sometimes, the most appealing feature of a dessert is its top layer rather than its sides.
A shallow transparent bowl can provide more visible surface area for:
- Fresh fruit
- Chocolate curls
- Crushed nuts
- Caramel decoration
- Whipped cream
- Mini dessert arrangements
For smaller tasting portions, consider the Navin Plast N-22 transparent mini bowls, listed at 40 ml capacity.
Their wide, shallow design can work for tasting menus and compact dessert presentations.
Ultimately, choose the shape that highlights your recipe’s strongest visual feature.
Transparent Cups vs Transparent Bowls: Which Is Better?
Both formats can work well, but they serve different presentation needs.
| Feature | Transparent cup | Transparent bowl |
|---|---|---|
| Main visual focus | Side layers | Surface decoration |
| Best suited to | Mousse, pudding, parfaits | Toppings, mini desserts, tasting portions |
| Spoon access | Depends on opening width and depth | Often easier with wider openings |
| Presentation style | Vertical and structured | Open and decorative |
| Delivery suitability | Depends on compatible lid and design | Depends on compatible lid and design |
| Storage | Varies with cup geometry | Varies with bowl geometry |
If your dessert has colourful layers, a transparent cup may present them more effectively.
On the other hand, if you want to showcase elaborate toppings, a wide bowl may be more practical.
Before making your final choice, compare both formats with an actual dessert sample.
Which Materials Are Suitable for Small Dessert Cups?
Material selection matters because different products have different food-contact applications and handling requirements.
Many transparent dessert cups use polystyrene (PS), including several products in the Navin Plast range.
PS can provide a clear finish that makes decorative desserts easy to see.
However, the material name alone does not establish whether a particular product suits every temperature, cleaning method or storage condition.
What should you check before choosing dessert cup materials?
Ask the supplier about:
- The declared material of the specific product
- Food-contact suitability for your intended use
- Recommended serving and storage temperatures
- Whether the container supports repeated use
- Product-specific washing instructions
- Compatibility with lids and other accessories
For example, if you serve chilled chocolate mousse, check the suitability of the selected cup for the intended chilling and serving process.
Likewise, do not assume that every transparent cup is microwave-safe or dishwasher-safe.
Follow the instructions for the exact product.
What Are the Best Small Dessert Cups for Home Bakeries?
Home bakers often need attractive packaging in manageable quantities.
However, purchasing several different shapes before testing demand can increase costs and take up valuable storage space.
A better approach is to start with two or three sizes that cover your most popular desserts.
1. Small tasting cups for product trials
If you regularly introduce new flavours, mini cups can help customers sample different recipes.
The Navin Plast N-4 small square cups are listed at 60 ml capacity, making them an option worth evaluating for compact servings.
2. Medium cups for everyday mini desserts
For pudding, mini cheesecake and mousse, consider a format around 70–100 ml, depending on your recipe.
For example, the Navin Plast N-20 transparent dessert bowls have a listed capacity of 100 ml.
Their shape may suit recipes that benefit from a wider serving surface.
3. Larger cups for premium dessert portions
If your signature dessert includes several layers and a generous topping, a 160 ml cup may offer more flexibility.
The N-25 square mousse cups provide another format to compare.
Rather than stocking every possible size, identify which cups can serve multiple items on your menu without compromising presentation.
How Do You Calculate the Cost of a Mini Dessert Portion?
A visually attractive cup only makes commercial sense if the final serving fits your pricing strategy.
Therefore, calculate the total direct cost of the dessert, including packaging.
Example: Chocolate mousse portion costing
Suppose a mousse batch costs ₹600 and produces 30 individual servings.
| Expense | Cost per serving |
|---|---|
| Dessert ingredients | ₹20.00 |
| Dessert cup | ₹4.00 |
| Spoon and label | ₹2.00 |
| Total direct ingredients and packaging | ₹26.00 |
These figures are hypothetical and do not represent current Navin Plast prices.
Your actual cost will depend on the recipe, packaging product, purchasing quantity and accessories.
Also account for labour, electricity, wastage, payment charges, delivery expenses and other overheads before setting a selling price.
How can the right cup help control costs?
A consistent serving format can help your team:
- Follow repeatable portion sizes
- Estimate ingredient consumption
- Reduce accidental overfilling
- Plan packaging inventory
- Compare profitability across desserts
However, don’t reduce your serving size simply to match a cheaper cup.
Instead, find a container that suits the portion customers expect at your selling price.
How Should You Choose Dessert Cups for Weddings and Catering?
Wedding catering and large events create different demands from everyday bakery sales.
For example, a guest may pick up a mousse cup while standing, walk across the venue and eat it without sitting down.
Consequently, the container should feel comfortable to hold and allow convenient spoon access.
Prioritise comfortable serving
Choose a cup with a practical opening and a stable base.
Very narrow openings can make layered desserts difficult to eat, especially when the recipe includes firm toppings.
Consider tray arrangements
Before finalising an event order, place multiple filled cups on the actual serving tray.
Check how closely they fit and whether staff can move the tray comfortably.
Standardise without losing variety
Using one cup format for several compatible flavours can simplify event preparation.
For instance, chocolate mousse, mango pudding and vanilla custard might share a serving format if their portion sizes and presentation requirements align.
You can then use different colours, garnishes and layering styles to create variety.
Test the complete service process
Rehearse filling, chilling, transport, display and serving.
Maintain appropriate temperature control according to the food’s requirements. Packaging alone cannot guarantee the safety or quality of temperature-sensitive desserts.
For more ideas, explore Navin Plast’s guide to packaging mousse, tiramisu, cheesecake and pudding.
Do Small Dessert Cups Need Lids?
Not every dessert cup includes a lid, and not every design supports one.
For desserts served immediately at an event, an open cup may suit the service format.
However, when customers collect orders or receive deliveries, a suitable lid may become more important.
A compatible lid can help protect the dessert from contact during handling, provided the product is designed for the intended use.
What should you check before choosing cups with lids?
First, confirm that the lid is intended for the exact cup model.
Next, measure the tallest finished topping.
Then, close the container gently and check for contact between the food and lid.
Finally, carry the packaged dessert under realistic handling conditions.
Remember that a lid does not automatically make a cup leakproof.
Browse Navin Plast dessert cups with lids if your menu requires covered servings.
For a more detailed approach to dessert packaging, see the professional pudding cup selection guide.
How Can You Test Dessert Cups Before Buying in Bulk?
Ordering samples before a large purchase can help you identify problems that product photographs cannot reveal.
Use this seven-step evaluation process.
Step 1: Choose a representative dessert
Select a finished recipe that you expect to sell regularly.
Step 2: Measure the serving
Record the dessert’s intended volume or weight, topping height and overall dimensions.
Step 3: Test the cup shape
Check whether you can fill the cup neatly without trapping food in awkward corners.
Step 4: Evaluate appearance
Inspect the dessert through the transparent walls under your normal display lighting.
Step 5: Test handling
Carry the filled cups using your regular trays and packing process.
Step 6: Calculate complete packaging cost
Include the cup, compatible lid where applicable, spoon, label and ordinary packaging losses.
Step 7: Record the approved specification
Create a reference sheet containing:
- Product name and SKU
- Capacity and dimensions
- Usable portion size
- Material and handling instructions
- Lid compatibility
- Cost per completed serving
- Photograph of the approved dessert
This record makes future ordering and staff training easier.
What Common Mistakes Should Bakeries Avoid When Buying Small Dessert Cups?
Even experienced bakers can overlook practical packaging details.
Choosing by photographs alone: Images cannot accurately communicate usable volume, rim comfort or material thickness.
Ignoring topping space: A cup may hold the mousse but leave inadequate room for decoration.
Buying too many designs: Excessive packaging variations complicate stock management and training.
Assuming all transparent cups are identical: Shape, material, dimensions and intended applications vary by product.
Ignoring the customer’s eating experience: A beautiful dessert can still be inconvenient if the spoon cannot reach the bottom.
Overlooking total cost: The cheapest empty cup is not always the most economical choice once you include accessories, wastage and handling.
By checking these factors early, businesses can reduce avoidable mistakes and maintain consistent presentation.
Frequently Asked Questions About Small Dessert Cups
What size cup is best for mini mousse?
A 50–100 ml cup can be a useful starting point for mini mousse portions. However, the ideal size depends on your recipe, intended serving quantity and topping height. Always test the actual dessert.
Are plastic mousse cups suitable for home bakeries?
Yes, appropriately specified plastic mousse cups can be practical for home bakeries selling individual desserts, tasting portions and small dessert assortments. Choose them according to your recipe and handling requirements.
What is the difference between a mousse cup and a dessert bowl?
A mousse cup often emphasises the dessert’s side layers, while a wider dessert bowl may provide more room for surface decoration and spoon access. Actual performance depends on the product design.
Can transparent dessert cups be reused?
Some products are designed for repeated use. Check the manufacturer’s instructions for the exact cup, including appropriate washing methods and signs of wear that require replacement.
Which cups are best for dessert tasting menus?
Small cups in roughly the 30–65 ml range can be useful for tasting portions. Choose a size that allows guests to enjoy the intended number of bites without awkward handling.
Do all plastic mousse cups come with lids?
No. Lid availability varies by model. Check the product listing and confirm compatibility before ordering.
How do I calculate the cost of each dessert cup serving?
Divide the total ingredient cost by the actual number of portions, then add packaging, utensils, labels and other direct costs. Include overheads and selling expenses when determining your final price.
Are transparent cups better for layered desserts?
Transparent cups can help customers see contrasting layers of mousse, cream, fruit and sponge. Nevertheless, neat filling and suitable proportions are essential for an attractive result.
Where can I buy small dessert cups in India?
You can explore Navin Plast’s mousse cup range to compare transparent dessert cups, square designs and mini bowls. Review each product’s current specifications and purchasing details before ordering.
Final Thoughts: Choose Dessert Cups That Work for Your Recipe
The right small dessert cup should make your dessert easy to prepare, attractive to display and comfortable to enjoy.
Instead of choosing packaging solely by appearance or stated capacity, consider the complete serving experience.
Start with your recipe. Measure the finished portion. Compare shapes and materials. Test the packaging under realistic conditions. Finally, calculate the total cost before committing to a larger order.
Whether you operate a home bakery, manage a café or organise wedding catering, a consistent packaging system can help simplify daily work while maintaining the presentation your customers expect.
